1. 创建您的Shopify店铺
- 登录StablePay 商户后台
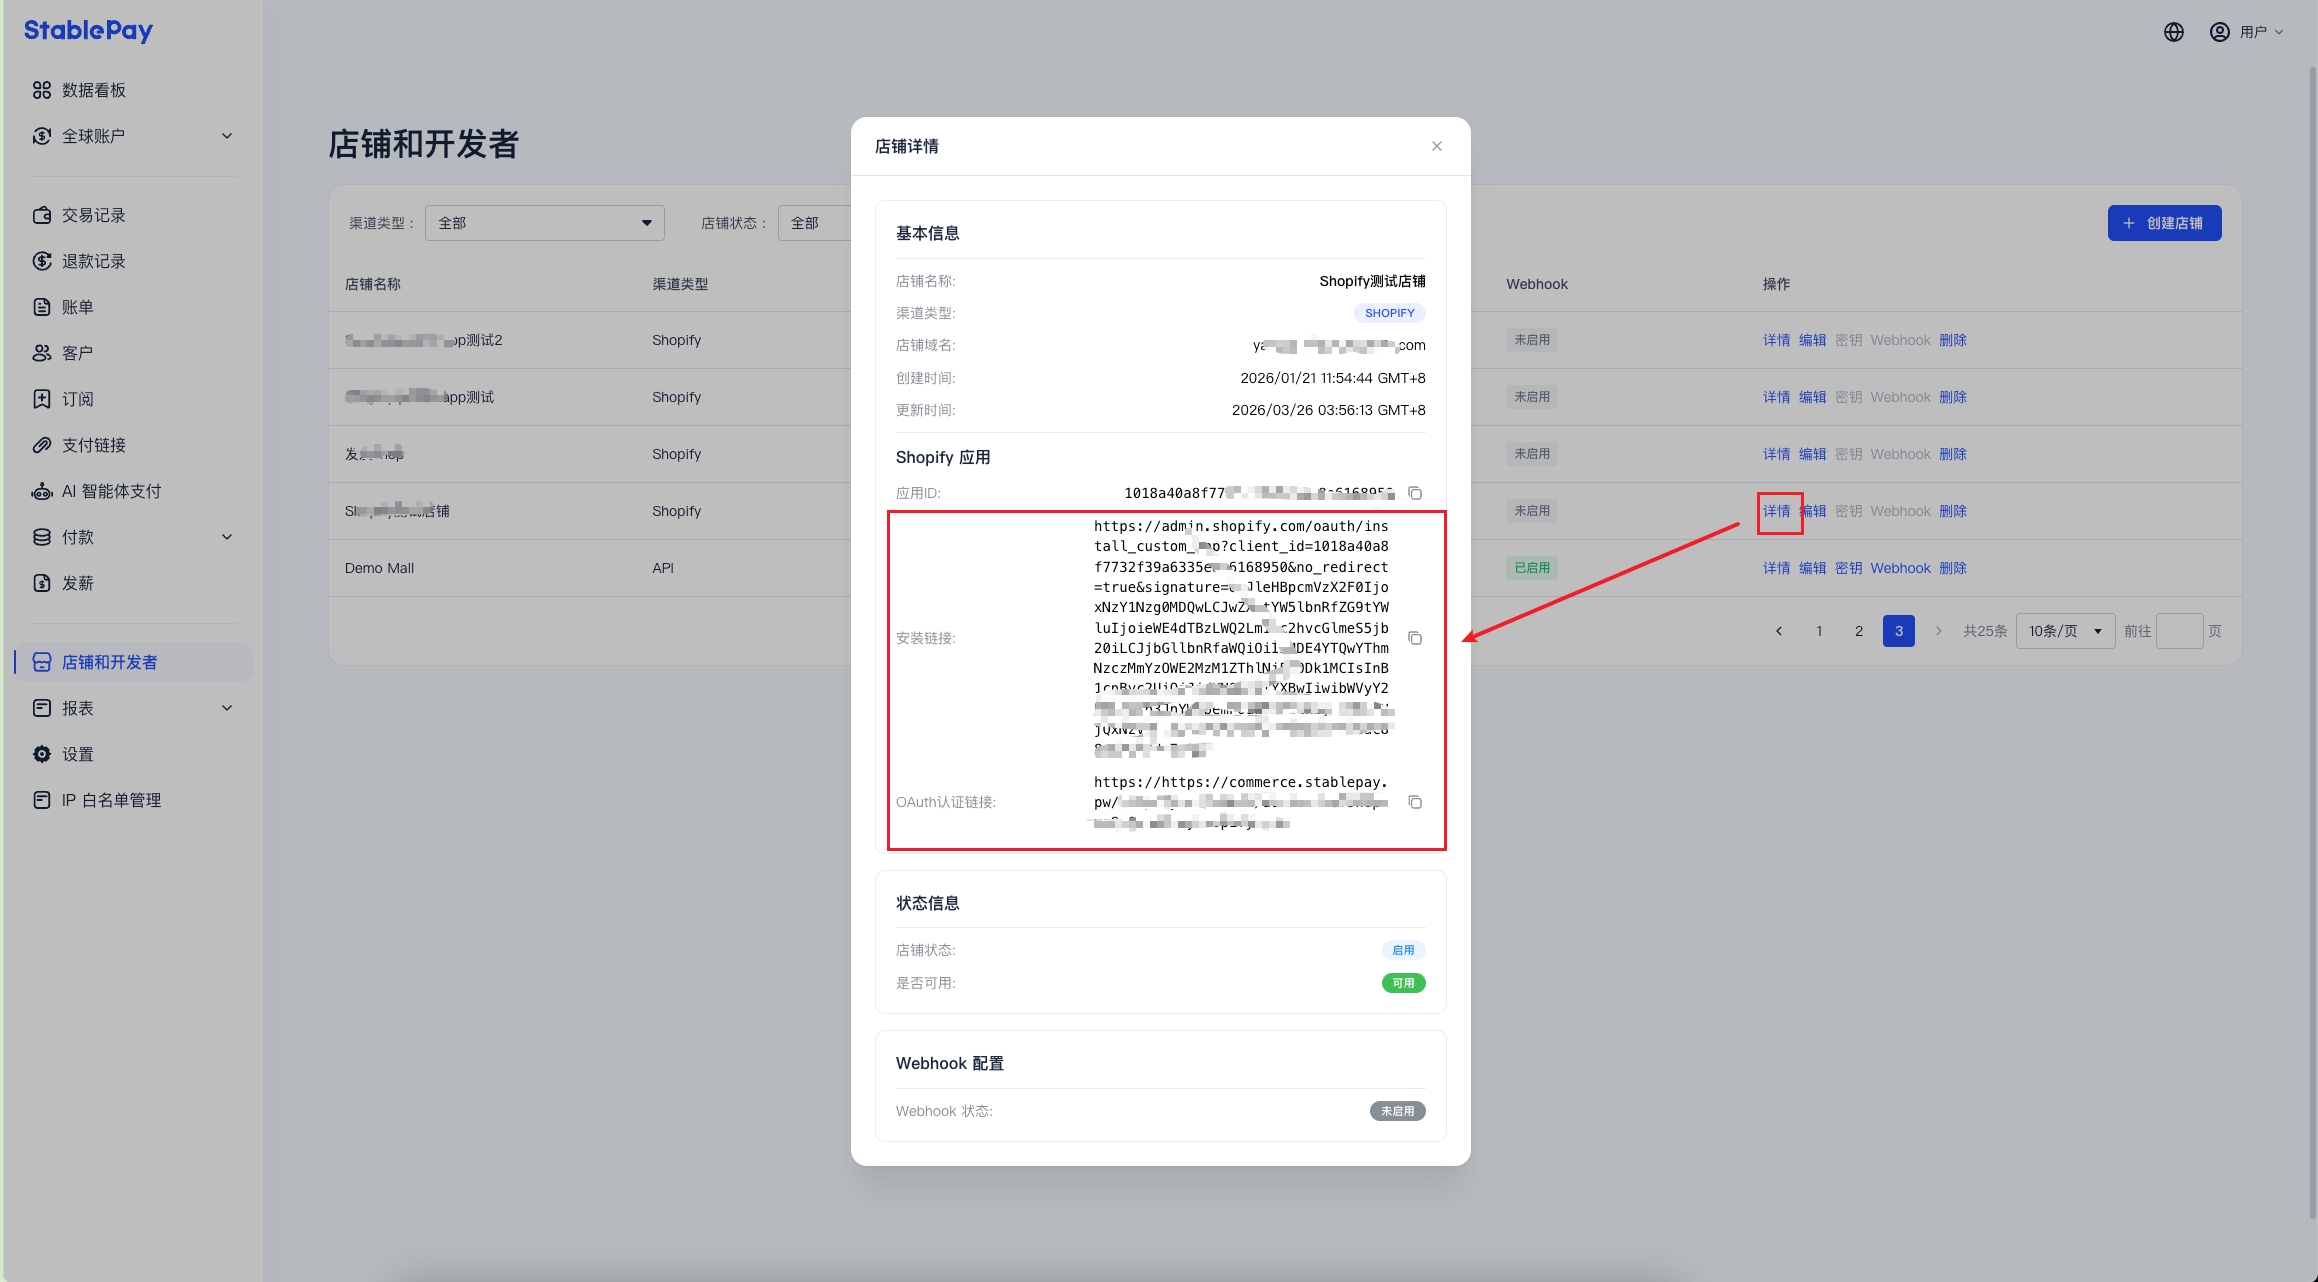
- 进入 店铺和开发者 页面,点击 [创建店铺],渠道类型 选择 Shopify,提交后等待 StablePay 审核
- 审核通过后,您可以通过店铺详情页获得您的支付插件安装链接和 OAuth 认证链接
2. 使用 StablePay 支付插件链接安装
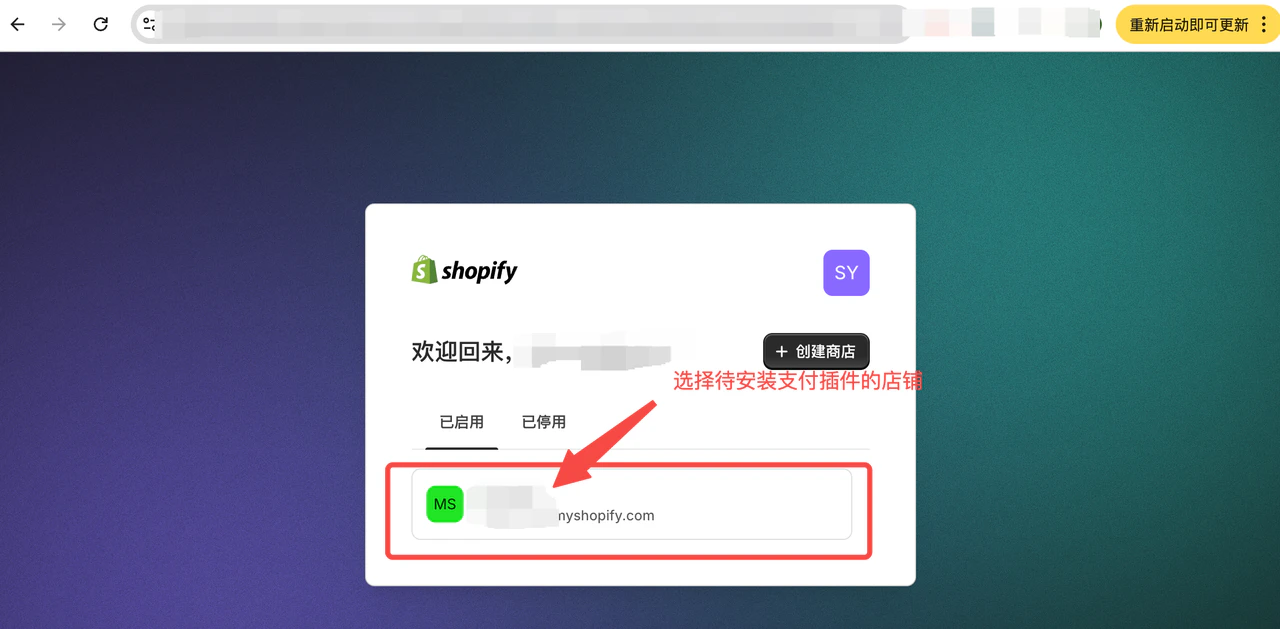
步骤 2.1:访问安装链接
- 确保已登录您的 Shopify 商店后台
- 在浏览器中访问安装链接
步骤 2.2:安装应用
点击 “安装” 按钮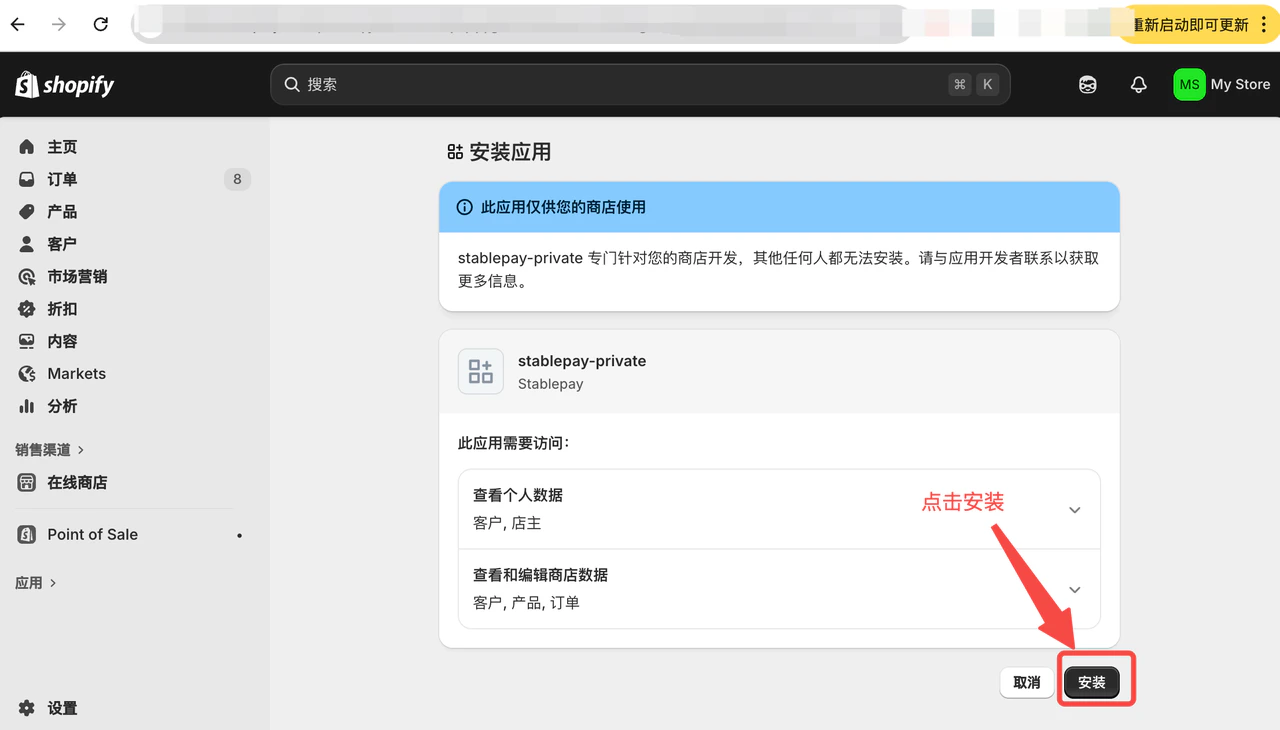
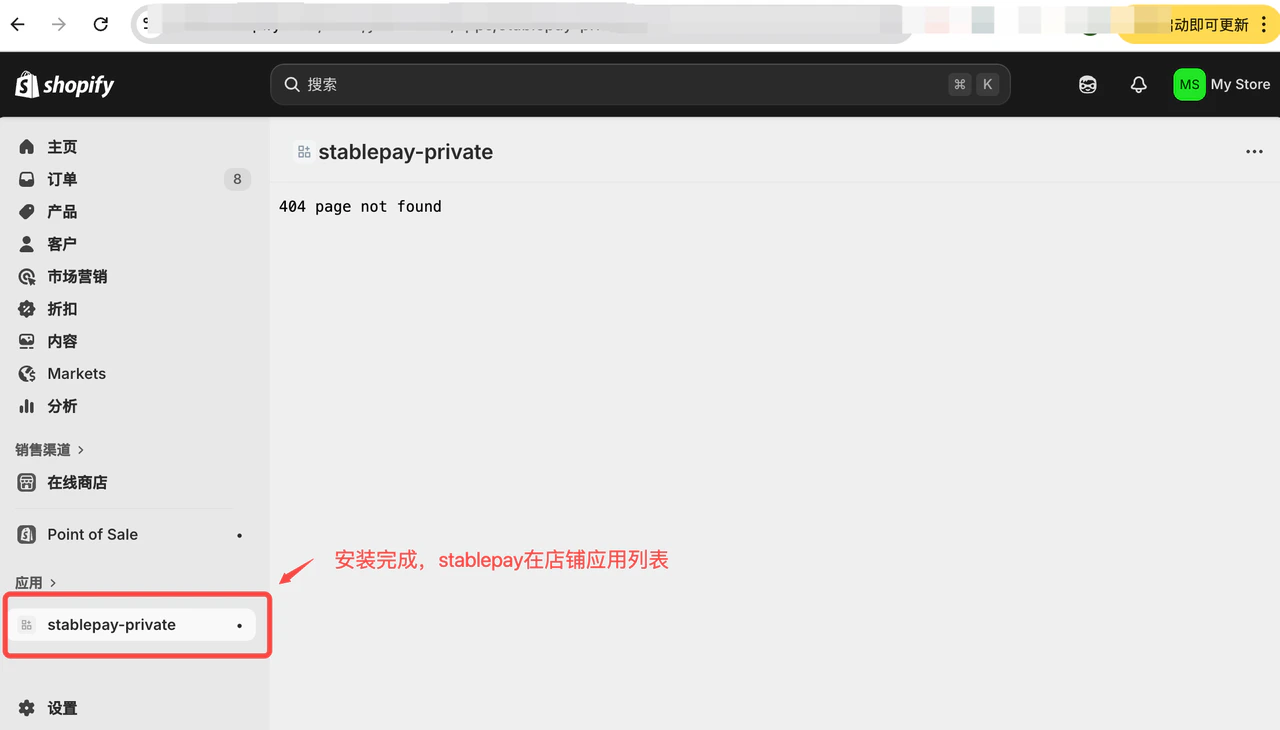
步骤 2.3:完成安装
3. 访问 OAuth 认证链接完成预配置
将 OAuth 认证链接放到浏览器并访问,完成预配置。 提示 “success”,表示预配置成功。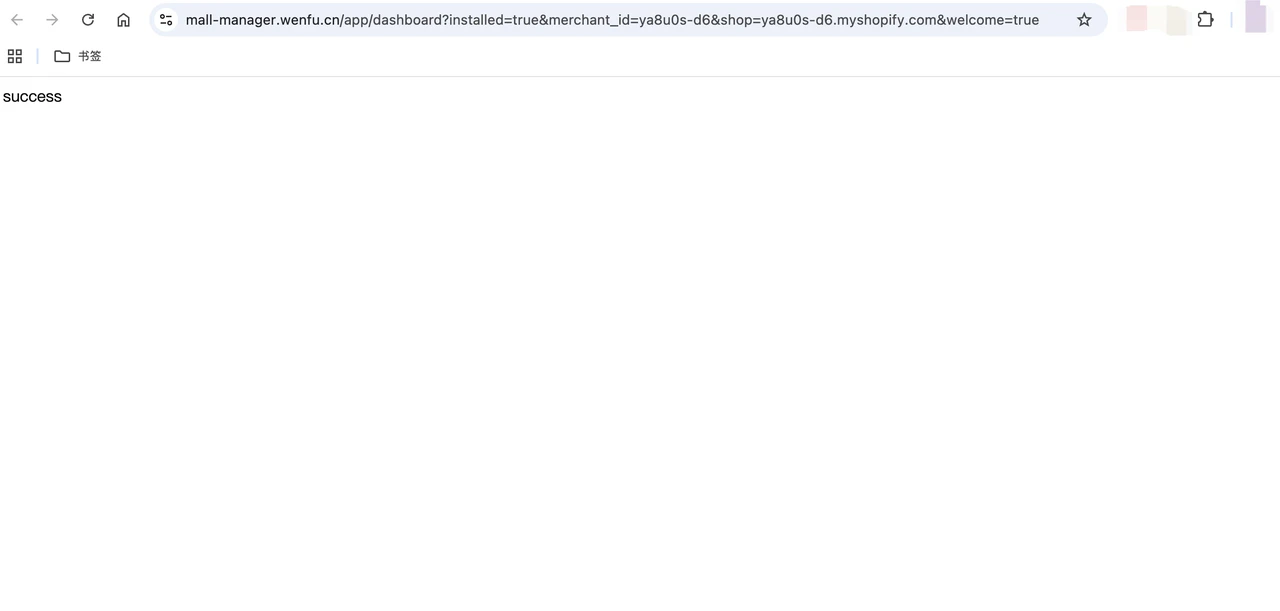
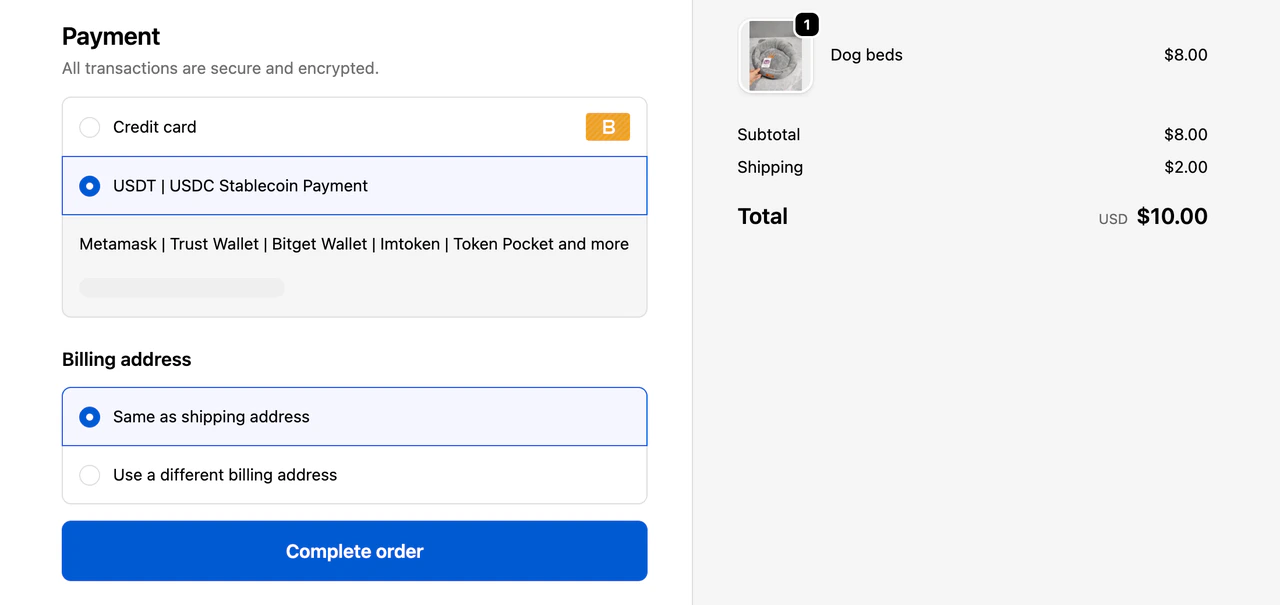
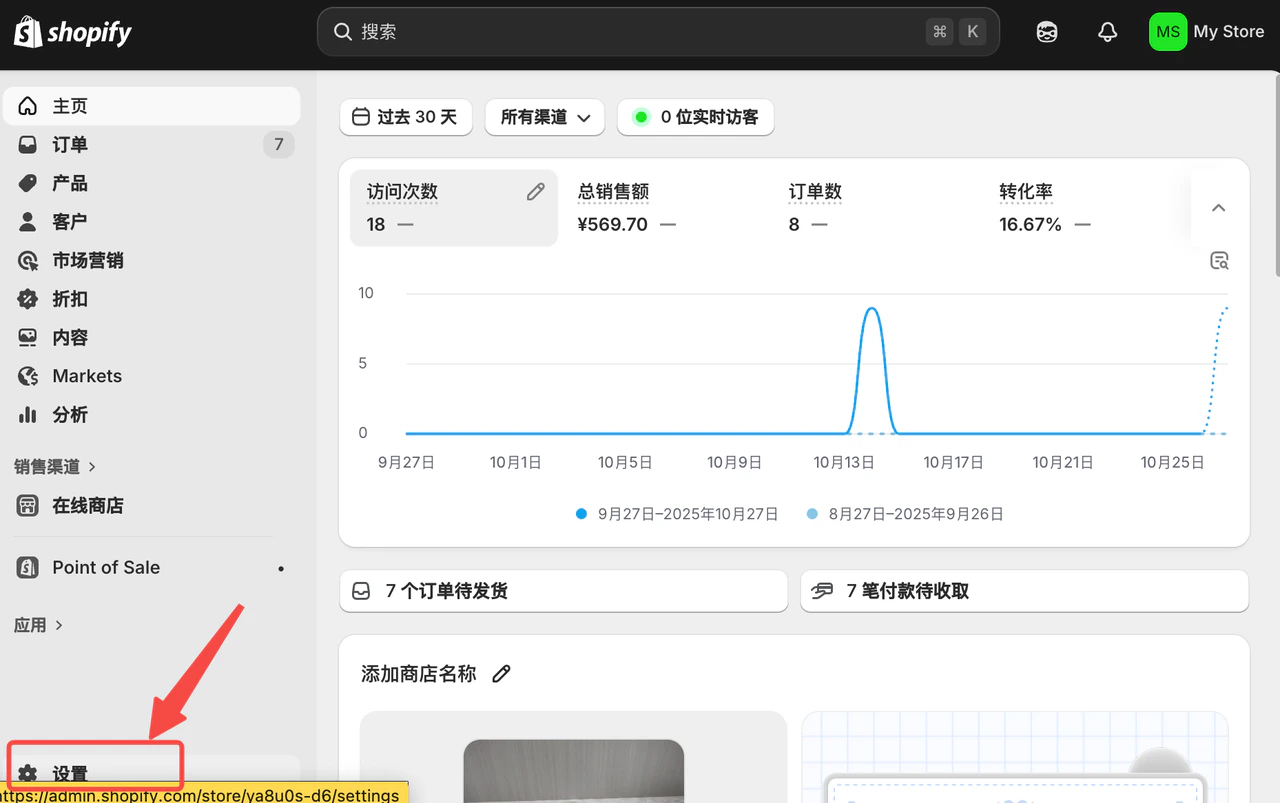
4. 配置稳定币收款方式
步骤 4.1:进入店铺设置
步骤 4.2:自定义添加稳定币收款方式

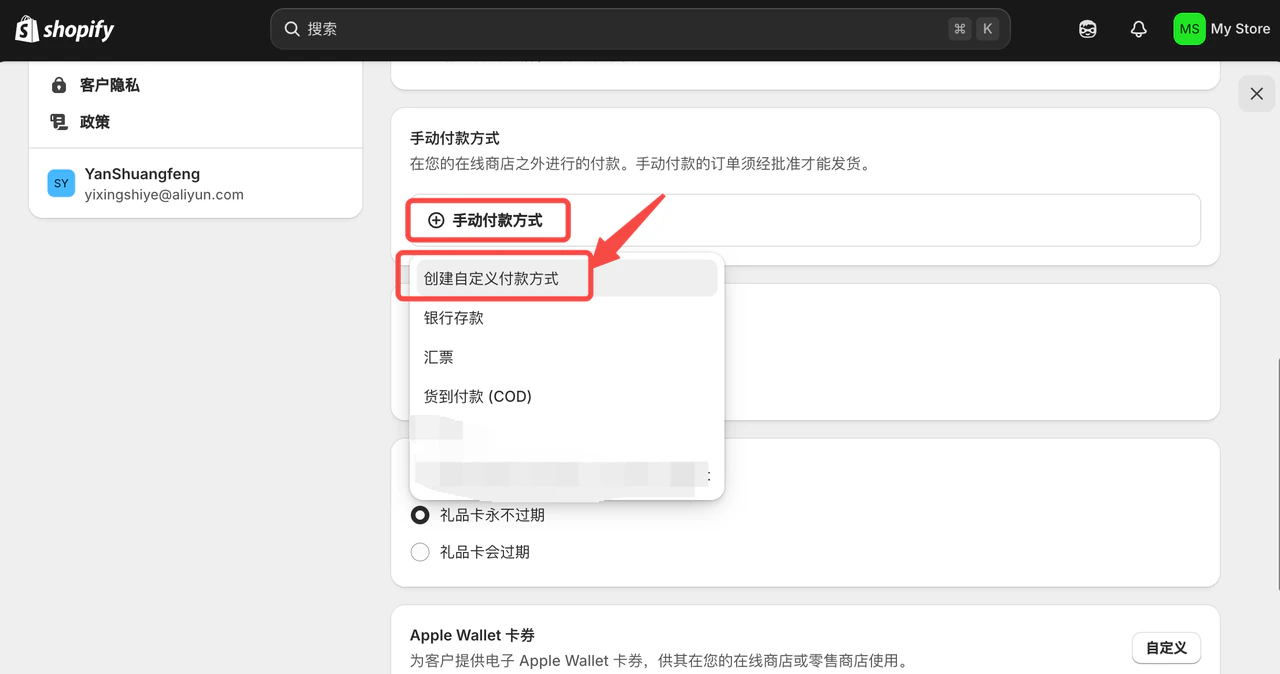
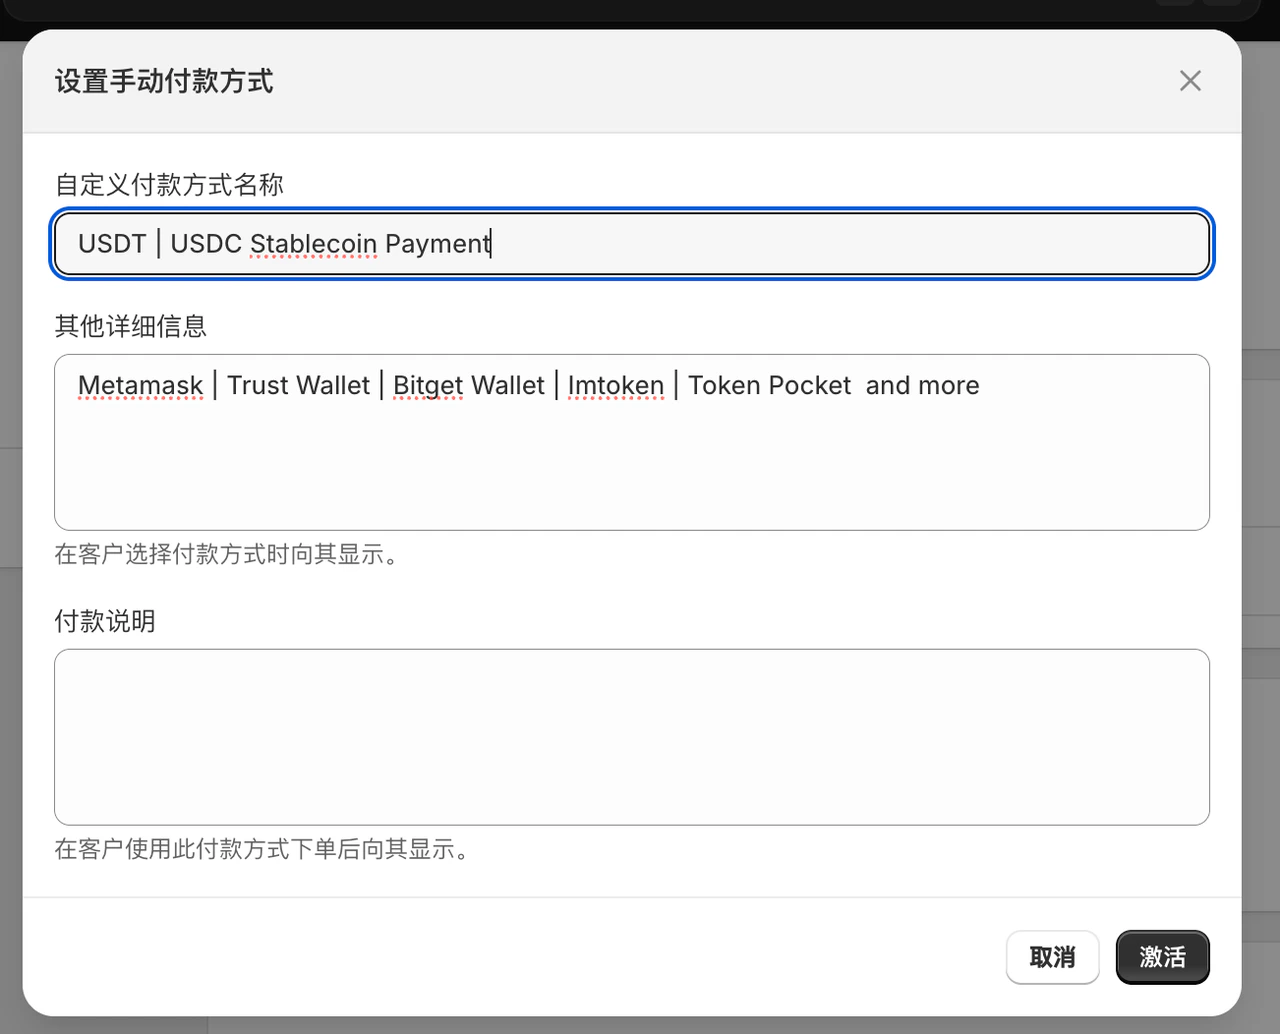
步骤 4.3:填写支付方式信息
自定义付款方式名称:5. 配置完成,开始用 StablePay 收款